Ingredients
– 1 cup creamy peanut butter [Binds the mixture and adds creaminess]
– 4 tablespoons softened unsalted butter [Helps create a smooth base]
– 1 teaspoon vanilla extract [Enhances overall flavor]
– 1 cup powdered sugar [Sweetens and stabilizes the mix]
– 3/4 cup graham cracker crumbs [Provides texture and structure]
– 1/2 cup crushed candy bars [Adds crunch and fun flavor]
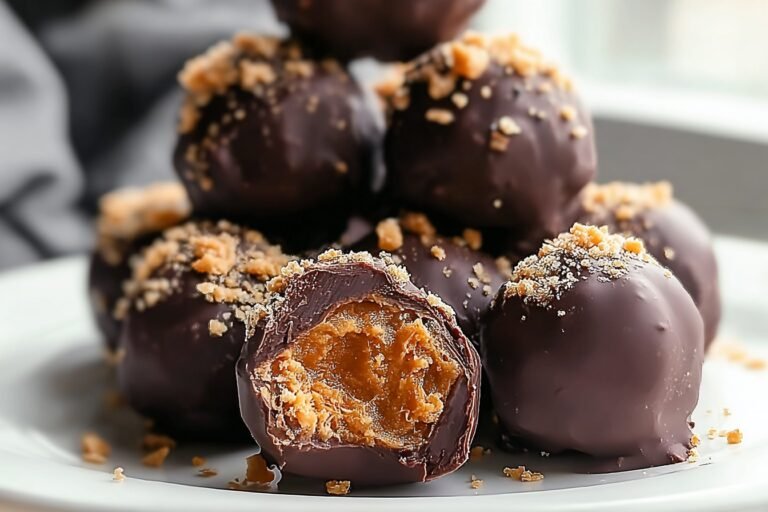
– 8 ounces chocolate bark or chocolate chips [For a glossy, delicious coating]
– Extra crushed candy [for topping]
– Holiday sprinkles [for decoration]
– Coarse salt [for flavor]
Instructions
1-First, beat the peanut butter and softened butter in a medium bowl on medium speed until they turn creamy and smooth. This step blends the flavors and creates a good base for the rest. Once mixed, add the vanilla extract and blend it in thoroughly to boost the taste.
2-Next, gradually mix in the powdered sugar, scraping the sides of the bowl as needed to avoid lumps. This helps everything combine evenly and gives the mixture its sweet touch. Then, stir in the graham cracker crumbs and crushed candy pieces until the dough holds together nicely.
3-Line a baking sheet with parchment paper for easy cleanup and to keep the balls from sticking. Scoop out 1 to 1½ tablespoons of the mixture and roll it into balls, placing each one on the sheet. This size makes them easy to eat and handle.
4-After forming the balls, pop the sheet into the freezer for 30 minutes. This firms them up and makes dipping easier later on. While they chill, you can prepare the chocolate coating to keep things moving smoothly.
5-Melt the chocolate in the microwave at 50% power in 30-second intervals, stirring between each one until it’s fully melted. A double boiler is another good option to avoid any water contact and ensure a smooth result. This method keeps the chocolate from burning and gives a nice finish.
6-Dip the frozen balls into the melted chocolate, covering them fully or partially as you like. Use a toothpick or fork to make this step less messy. Sprinkle on extra crushed candy, holiday sprinkles, or a bit of coarse salt right away for garnish, then let them set completely.
Last Step:
Please leave a rating and comment letting us know how you liked this recipe! This helps our business to thrive and continue providing free, high-quality recipes for you.Notes
🥜 Use regular creamy peanut butter rather than natural varieties to prevent an oily texture and ensure the balls hold their shape properly
🍫 Chocolate bark provides the smoothest finish and doesn’t require tempering, making it ideal for beginners and perfect coating results
🧊 Keep the balls frozen until ready to dip – this prevents them from falling apart in the warm chocolate and ensures a perfectly coated candy
- Prep Time: 15 minutes
- Chilling Time: 30 minutes
- Category: Dessert
- Method: No-Bake
- Cuisine: American
- Diet: Vegetarian
Nutrition
- Serving Size: 1 candy ball
- Calories: 219
- Sugar: 18
- Sodium: 108
- Fat: 13
- Saturated Fat: 6
- Unsaturated Fat: 6
- Trans Fat: 0.2
- Carbohydrates: 23
- Fiber: 1
- Protein: 3
- Cholesterol: 10