Ingredients
– 1 cup shredded cheese
– 1 cup grated cheese
– 1 cup mayonnaise
– 1/2 teaspoon garlic powder
– 1 loaf Italian bread or 1 loaf French bread, split lengthwise
Instructions
1-Step 1: Prepare Your Oven and Baking Sheet Start by setting your oven to broil. This high-heat method creates that gorgeous golden-brown crust on top while keeping the bread soft and tender underneath. Broiling is faster than baking and gives you those beautiful bubbly cheese tops. While the oven heats up, prepare a baking sheet. You can line it with aluminum foil for easy cleanup, though this isn’t strictly necessary since the bread sits directly on the sheet. If your bread is particularly long, make sure you have a baking sheet large enough to accommodate both halves.
2-Step 2: Split the Bread Lengthwise Take your loaf of Italian or French bread and carefully split it lengthwise using a serrated knife. A bread knife works best here because it cuts through the crust without crushing the soft interior. Work slowly and steadily, keeping your knife parallel to the cutting board. Place both halves cut-side up on your prepared baking sheet. If the halves are too long for your serving platter, you can cut them in half widthwise now or wait until after broiling.
3-Step 3: Mix the Cheese Mixture In a large bowl, combine all your cheesy ingredients. Add the shredded cheese, grated cheese, mayonnaise, and garlic powder. Mix everything together until well combined. The mixture should be thick and spreadable, with a consistency similar to a thick paste. Don’t worry if it seems like a lot of mixture. It might look like more than you need, but trust the process. You want a generous layer of cheese on every bite. As noted by WebMD, cheese provides protein and calcium, making this bread more than just empty calories.
4-Step 4: Spread the Mixture on the Bread Using a spatula or the back of a spoon, spread the cheese mixture evenly over both halves of the bread. Work from one end to the other, making sure you get complete coverage all the way to the edges. The more even your spreading, the more evenly the cheese will brown. Some people like a thick layer in the middle and slightly less at the edges. This is totally up to you and your personal preference. There’s no wrong way to do this step!
5-Step 5: Broil Until Golden Brown Slide your baking sheet under the broiler. Position it on the middle rack for more even cooking, or move it up one rack if you want faster browning. Broil for just a few minutes, watching closely the entire time. This is the most critical step because broiling happens fast. You’re looking for the cheese to melt, bubble, and turn a beautiful golden brown color. Depending on your oven, this typically takes 2-5 minutes. The moment you see that perfect color, remove the bread immediately. Never walk away from the oven during this step. Cheese can go from perfectly golden to burnt in seconds. Stay right there and watch the magic happen.
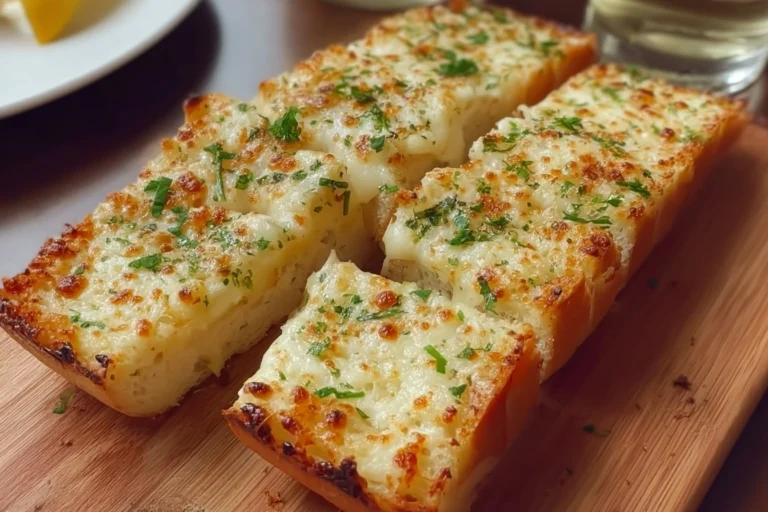
6-Step 6: Slice and Serve Immediately Remove your beautiful, bubbling bread from the oven and let it cool for just a minute. Then, using a sharp knife or pizza cutter, slice it into serving-sized pieces. A typical loaf yields about 8-12 pieces depending on how wide you cut them. Serve your cheesy garlic bread right away while it’s still hot and the cheese is at its stretchy best. This bread doesn’t reheat particularly well, so it’s best enjoyed fresh from the oven.
Last Step:
Please leave a rating and comment letting us know how you liked this recipe! This helps our business to thrive and continue providing free, high-quality recipes for you.Notes
👀 Watch bread closely under the broiler to get perfect golden cheese without burning.
🥪 Mayonnaise creates ultra-creamy, rich texture better than butter alone.
🌿 Customize with added herbs, chopped tomatoes, or pesto for extra flair.
- Prep Time: 5 minutes
- Cook Time: 10 minutes
- Category: Sides
- Method: Broil
- Cuisine: American
- Diet: Vegetarian
Nutrition
- Serving Size: 1 slice
- Calories: 350 kcal
- Sugar: 1 g
- Sodium: 500 mg
- Fat: 25 g
- Saturated Fat: 8 g
- Unsaturated Fat: 16 g
- Trans Fat: 0 g
- Carbohydrates: 25 g
- Fiber: 1 g
- Protein: 10 g
- Cholesterol: 30 mg