Ingredients
approximately 20 hard candies for stained glass effect
1 cup (226g) unsalted softened butter for richness
1 cup (200g) granulated sugar for sweetness and structure
1/4 teaspoon salt for balancing sweetness
2 eggs for binding
1 teaspoon vanilla extract for flavor
3 cups (382g) all-purpose flour for structure
Instructions
1-First Step: Prepare the candy centers Unwrap and separate hard candies by color, placing each color into its own resealable bag. Crush the candies into small, uniform bits using a meat mallet or rolling pin. Small bits melt more evenly and create a smoother stained glass look. Set the crushed candy aside so it is ready when the dough is cut.
2-Second Step: Make the cookie dough In an electric stand mixer bowl, cream together 1 cup (226g) unsalted softened butter, 1 cup (200g) granulated sugar, and 1/4 teaspoon salt until well combined. Add the 2 eggs, one at a time, mixing between additions. Blend in 1 teaspoon vanilla extract. With the mixer on low speed, slowly add 3 cups (382g) all-purpose flour (spooned and leveled) and mix until just combined. The dough should be soft but not sticky.
3-Third Step: Chill and portion the dough Scrape the dough out of the bowl and shape it into a rectangle. Wrap the dough tightly in plastic wrap and chill in the refrigerator for one hour. After chilling, cut the dough into thirds; keep two portions chilled and work with one portion at a time. Chilling helps the dough hold its shape and prevents excessive spreading.
4-Fourth Step: Roll and cut shapes On a lightly floured surface, roll one portion of dough to about 1/5-inch thickness. Use a large cookie cutter (approximately 3.5-inch star or your chosen shape) to cut out the outer shapes. Transfer them to a baking sheet lined with a silicone baking mat. From each large shape, cut a smaller shape (about 1.75-inch star) and remove the center piece. Re-roll scraps and repeat until the portion is used up.
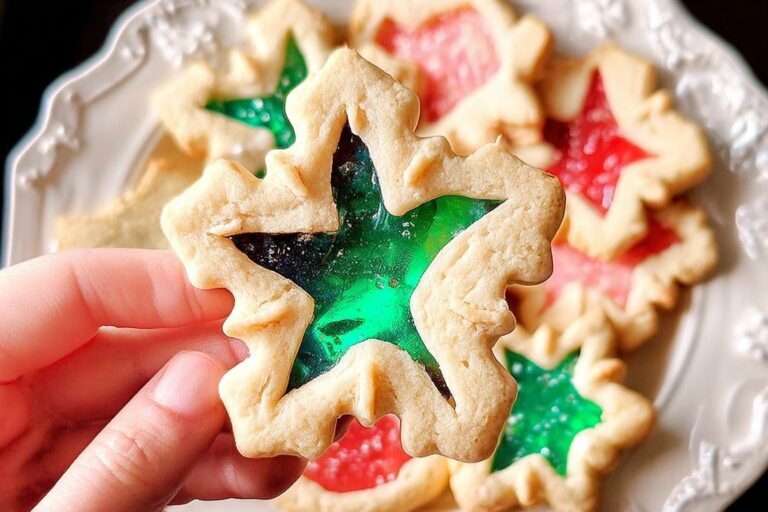
5-Fifth Step: Add the crushed candy Fill the cut-out centers about three-quarters full with the crushed hard candies. If you want a uniform color in each window, use candy from one bag per center. For marbled effects, mix small amounts of colors before filling. A toothpick helps place small bits or tidy edges.
6-Sixth Step: Chill then bake Chill the filled cookies in the refrigerator for 15 to 20 minutes to firm them up; preheat the oven to 350°F while they chill. Bake the chilled cookies for 12 to 14 minutes, or until the cookie edges are set and the candy centers have melted into smooth, glossy windows. Allow cookies to cool completely on the baking sheet so the candy hardens.
7-Final Step: Finish and store Once fully cooled, move cookies to a wire rack or package them in an airtight container. Repeat the entire process with remaining dough portions. Store cookies in an airtight container at room temperature. These stained glass cookies make lovely gifts and festive ornaments if you add a small hanging hole before chilling.
Last Step:
Please leave a rating and comment letting us know how you liked this recipe! This helps our business to thrive and continue providing free, high-quality recipes for you.Notes
🧵 Use a silicone baking mat instead of parchment paper to prevent sticking and ensure easy removal of the finished cookies
🕳️ To hang cookies with ribbons, cut a small hole near the top with a plastic straw before chilling and baking for beautiful window decorations
❄️ Chill the dough thoroughly before cutting – this prevents spreading and maintains the crisp edges needed for the stained glass effect
- Prep Time: 45 minutes
- Chill time: 1 hour 25 minutes
- Cook Time: 30 minutes
- Category: Dessert
- Method: Baking
- Cuisine: American
- Diet: None
Nutrition
- Serving Size: 1 cookie
- Calories: 144
- Sugar: 9g
- Sodium: 24mg
- Fat: 6g
- Saturated Fat: 3g
- Unsaturated Fat: 3g
- Trans Fat: 0g
- Carbohydrates: 19g
- Fiber: 0.5g
- Protein: 1g
- Cholesterol: 27mg